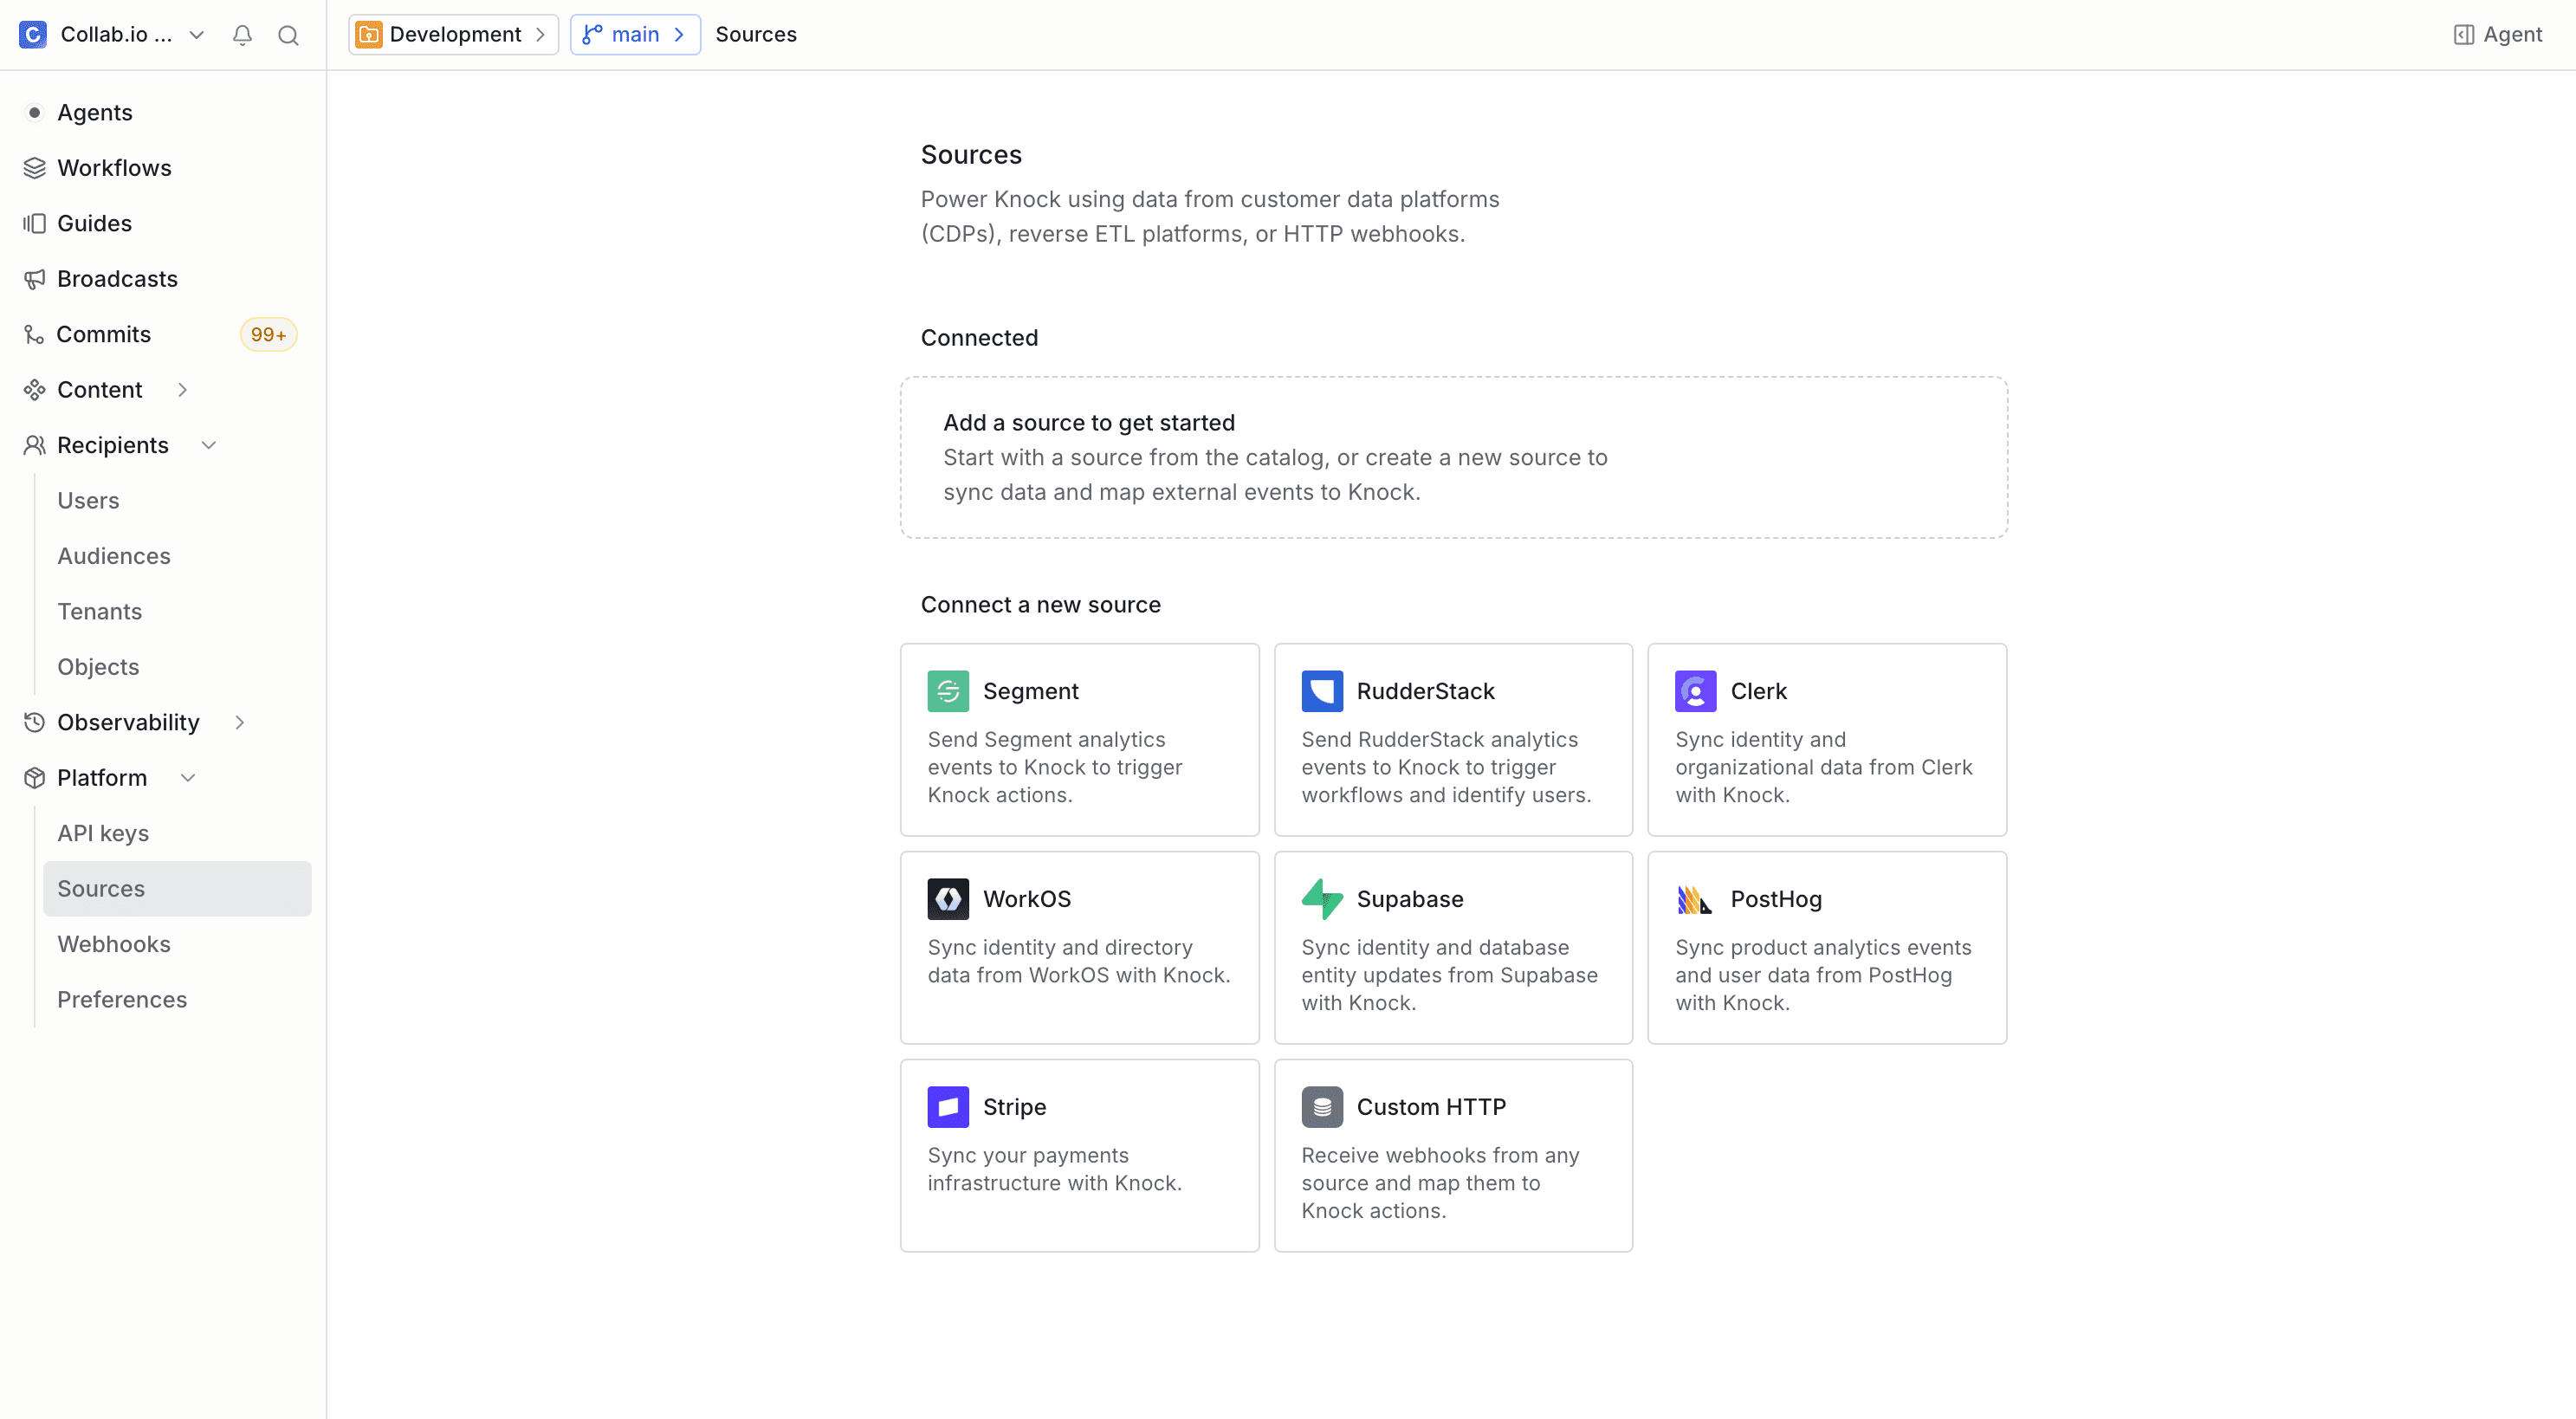
How to use Segment events to power Knock

This guide covers using Segment as a Knock source to bring track and identify event data from Segment into Knock to power your notifications.

Knock also provides a separate Segment extension for sending Knock notification data into Segment for use in your downstream tools.

Getting started

When using Segment as a Knock source, you also need to configure Knock as a destination within Segment. This means you can use events coming through Segment to power actions in Knock, such as triggering a workflow.

To start routing your Segment events to Knock, click the "Create Source" button in the Knock dashboard under the Integrations > Sources section and select Segment. Once created, select it from the list to navigate to the environment configuration page, where you can copy the unique webhook destination URLs for each environment you have configured in Knock.

Configure a Knock destination in Segment

Use webhooks to connect to Knock. Knock does not have a first-party integration with Segment, so you will not find us in Segment's destination catalog. Instead, you'll configure the connection to Knock via a webhook destination as described below.
1

Add webhook destination in Segment

In your Segment workspace, navigate to the Destinations tab and click "Add Destination." From here, search for Webhooks or navigate to Raw Data in the sidebar and click the "Webhooks (Actions)" option. This is the destination type we'll use for Knock. Configure webhooks

2

Configure webhook

Click the "Configure Webhooks (Actions)" button in the top right to enter the setup flow to configure your webhook:

  • Select the data source you'd like to receive events from and click "Next."
  • Give a name to the destination, like "Knock," and keep the "Fill in settings manually" option selected, then click "Create destination."
3

Save changes

Now you'll see a Settings page. Check the "Enable Destination" button and click "Save changes."

4

Add mapping

At the top of the page, navigate to the Mappings tab. Click "New Mapping," and under Actions, click "Send".

You will then be directed to a form to configure the webhook:

  • Select the events to map and send to Knock. If you'd like to send all events to Knock, you can add the condition Event type is Track, a condition for Event type is Identify, and change the top operator to any instead of all: Select event conditions.
  • You can load a test or sample event; either way, ensure it matches your trigger conditions (Segment will warn you if it doesn't).
  • Click "Test Mapping" to send the loaded or sample event from the previous step to Knock.
  • If the test is successful, click "Save" to exit the form, and then click to enable the mapping you just created.

Viewing Segment track events in Knock

Once your Segment destination is set up, all events you trigger from the Segment source will be forwarded to Knock. Unique events will appear in your list of events under the Source so that you can set up actions to trigger your workflows.

From the source environment configuration page, click the "View in environment" button on one of the source environments. You'll be taken to the Segment source in the environment you selected, and you should see events sent. If you don't, try clicking the refresh button at the top of the list to refetch any incoming events.

Connecting a track event to a workflow

To start sending notifications using your Segment track event, you'll need to connect it to a workflow.

You can do this directly within the workflow builder by selecting a trigger type of event and selecting the event. Once you've selected the event, you can map its properties to any of Knock's workflow parameters, including recipients, actor, tenant, and cancellation_key.

Using event data in workflow trigger mappings. When connecting an event to a workflow, you can use any data available within the event payload in the workflow's parameters. For example, if your payload looks like this:
and you wanted the commenter from the action to appear as the actor in the workflow, then in the actor field, you would write properties.commenter.id to supply their ID as the actor.

If you wanted to supply the event's userId as the workflow's recipient, you'd write userId in the Recipients field.

Note: when you edit message templates, all properties are available to you as data variables. You can access them directly in your templates without the properties. prefix.

Committing the event action configuration

Event action configurations are stored in the commit history, just like workflows and email layouts. Once you're happy with the mapping, you can save it and commit it to your development environment using the same commit button as your workflow. When you're ready, you can publish this event action configuration to your other environments from the commit page.

Committing actions that trigger workflows. Keep in mind that when you commit your workflows to development and publish them to other environments, you'll have to do the same with your actions to make them trigger that workflow in those environments as well.

Disabling an action

Actions are automatically enabled when you create them. To stop an event from triggering an action, go to the action page and toggle its status to Inactive. Keep in mind that this will only disable that action for the current environment. When you're ready to trigger the action again, you can set it back to Active.

Enabling Identify events

When Segment sends identify events, Knock will create and update user information accordingly. Knock will correctly map the id, email, phone, avatar, name, and any other custom properties.

To enable the handling of identify events, open the settings for the source in the environment. You can then enable or disable handling identify events accordingly.

A screenshot of how to toggle Knock handling Segment identify calls

🚨
Remember: if you send Knock an event that includes a recipient not yet identified in Knock, our system will not generate a workflow run for that user.

For use cases such as new signup events, where events often reach Knock before identify calls, consider inline identification of users in your Segment events.

Inline identify users in a Segment event

In cases where you send a Segment event to Knock with recipients who may not yet have been identified in our system, it's good practice to inline identify your users. By inline identifying your users within your Segment events, you ensure that those users are identified in Knock when your event triggers a workflow.

As an example, take the user-signed-up event below. We're currently mapping the properties.recipients field to the recipients field of our workflow in Knock. If we send this event to Knock before the user with id sam10 has been identified, the user will not be notified.

To ensure the user is notified, we'd change the id reference in recipients to a complete user object, as in the example below. This way, Knock has all the information it needs to identify the user during workflow runtime.

You can learn more about inline identification in our users concept guide.

Video walkthrough


Frequently asked questions