Building a Slack integration in React
How to let users authorize and select Slack channels in your app with Knock's SlackKit.
Our @knocklabs/react library comes with pre-built components for allowing your users to connect their Slack workspace to Knock and select the channels they want to be notified on. SlackKit manages your OAuth connection and tokens, helps your customers select which channels they want to receive notifications in, and integrates seamlessly with the rest of Knock.
Getting started
#To get started you'll need a Knock account, a Slack channel connected to a Slack app, and a workflow with a Slack channel step.
Follow step-by-step instructions for your use case:
- Sending messages to public and private channels in your customer's Slack workspace
- Sending direct messages to users in your customer's Slack workspace
Using SlackKit components
#Once you've provided access to the necessary data, you can drop Knock's pre-built components into your React application to immediately set up Slack authorization and channel selection for your users. See the reference for full documentation of these components.
Add the providers
#In order to give your components the data they need, they must be wrapped in the KnockSlackProvider. We recommend putting this high in your component tree so that any Slack components that you use will be rendered within it. The Slack provider goes inside of the KnockProvider. Your hierarchy will look like this:
The KnockSlackProvider gives your components access to the status of the connection to your Slack app, so that they can all be in sync when a user is connecting, disconnecting, or experiencing a connection error.
Add the components
#SlackAuthButton & Container
#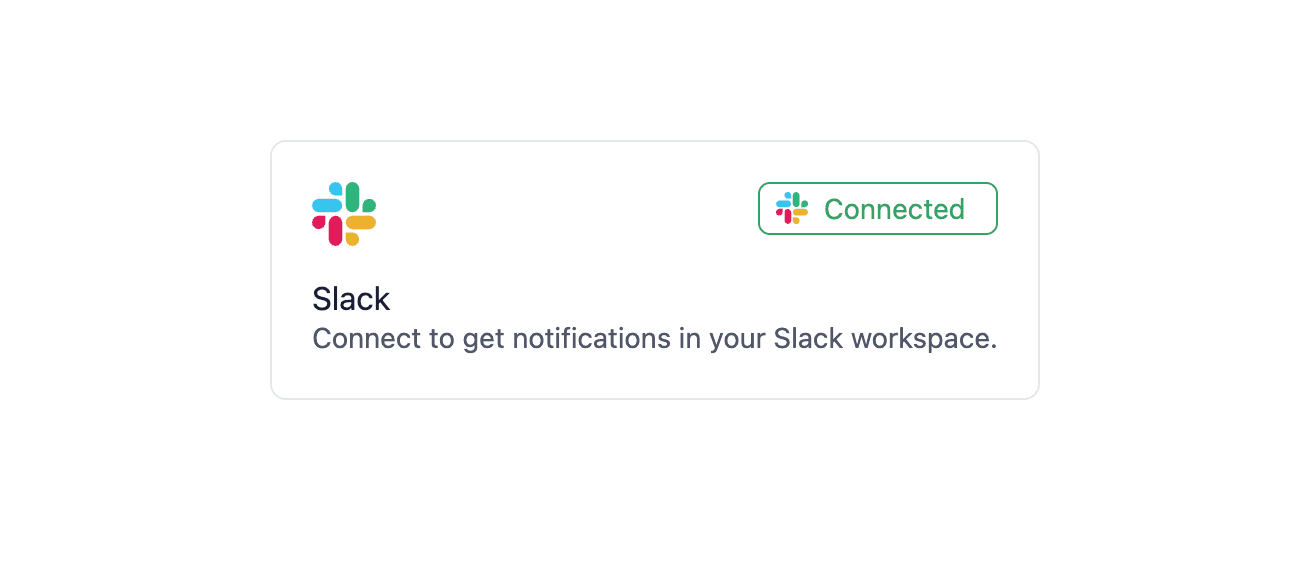
Your users will give your Slack app access to their own Slack workspaces via the SlackAuthButton. This button can be used on its own, or nested in the SlackAuthContainer for a bigger visual footprint. Here's an example of how to use them:
The SlackAuthButton maps a tenant in your product to a customer's Slack workspace. This means in most cases you'll just need a single instance of the SlackAuthButton.
Remember to consider which roles in your application can access the SlackAuthButton component. Knock does not control access to the component. In most cases, you'll add this connect button/container in the settings area of your product.
SlackChannelCombobox
#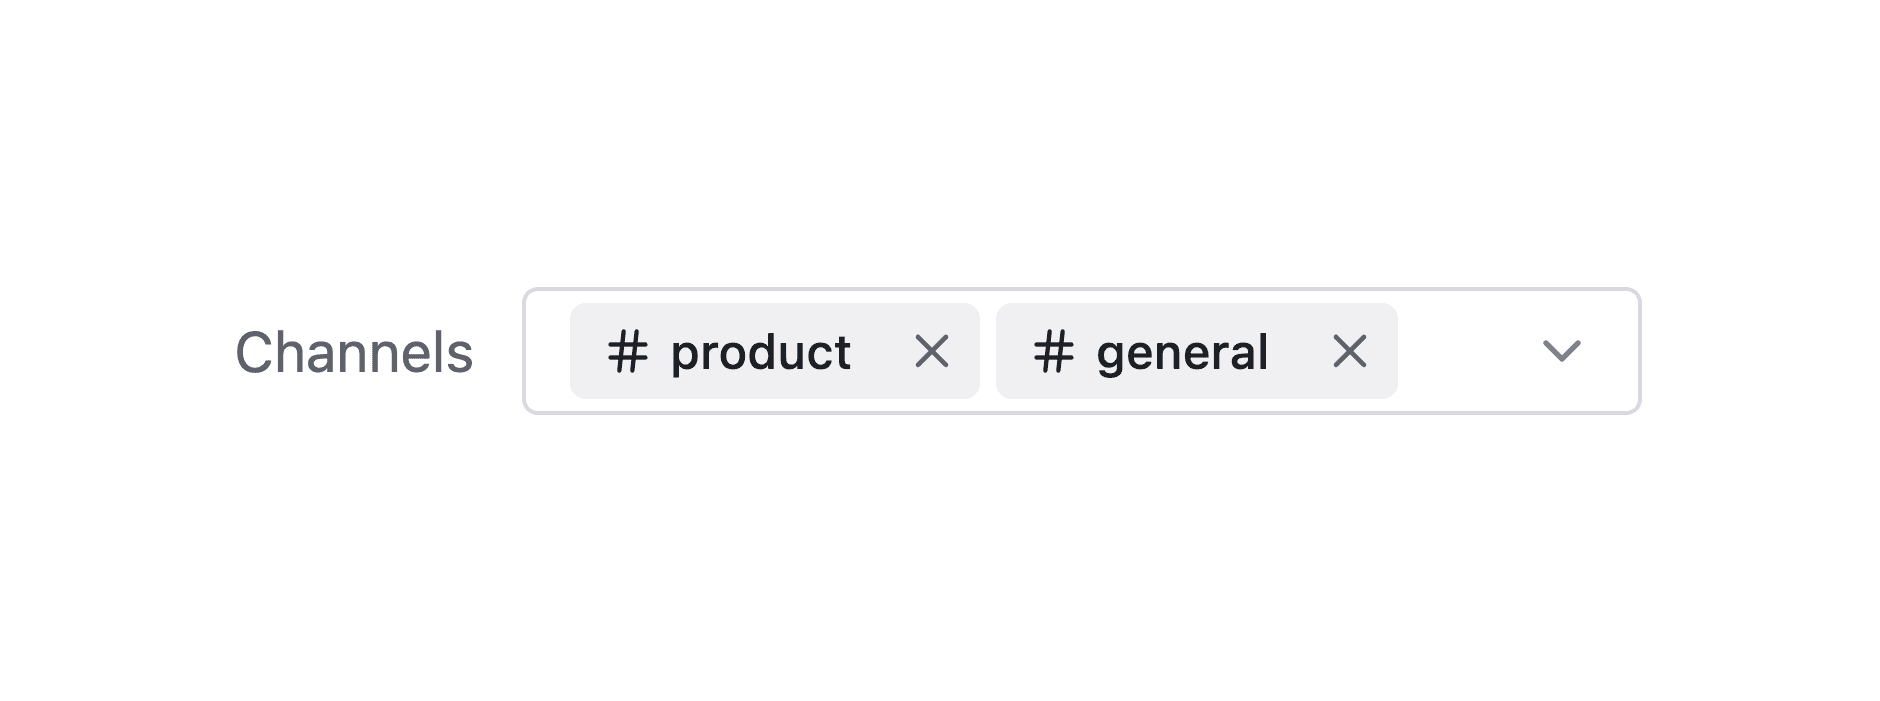
The SlackChannelCombobox component showing connected channels
This combobox contains the list of channels in the connected Slack workspace. Users will use this combobox to search and select a channel (or more than one channel) to be notified when an event in your application occurs, for example a comment on a video. They can also use this combobox to deselect a connected channel.
The combobox automatically shows which channels are already connected, and gives users an easy way to remove them as well.
Add your combobox to your application where you'd like the user to select channels to notify:
Complete sample code
#Here's an example of these components in a React application.
Using SlackKit headless
#If you need custom designs or want to display additional information around your Slack integration, you don't need to use Knock's pre-built components to take advantage of SlackKit.
SlackKit exposes three levels of support: React hooks, client functions, and API endpoints.
Hooks
#You can use the Slack React hooks under the hood to access and set Slack integration data with your own components. All of them are available from the @knocklabs/react-core package. All of them must still be nested under the KnockSlackProvider to work.
To use a hook in your component, all you need to do is import it and pass it the necessary params, and then you can use the data and functions returned in each to pass to your own component UI.
For example, you may want to provide your users a list of the connected channels outside of the SlackChannelCombobox. Let's look at how you can combine two hooks to accomplish that.
Building a list of connected channels
#First, make sure your component that you're using the hooks in is nested somewhere under the KnockSlackProvider. Then, import both the useSlackChannels and useConnectedSlackChannels hooks, as we'll be combining data from each to build our list.
We'll combine our data to create a list of channels that has a name and an isPrivate attribute so we can conditionally show a lock icon if the channel is marked private.
Here's some sample code for our final list:
Client functions
#If you want more fine grain control of your data, you can skip the hooks and simply use the functions Knock exposes in the @knocklabs/client library as long as you wrap the component you're calling it in inside of KnockProvider. You can accomplish anything we provide with hooks or the components with the following functions:
knock.slack.authCheck: Get the status of Slack authorizationknock.slack.getChannels: Get a list of Slack channels for the given tenantknock.slack.revokeAccessToken: Disables an access token with Slack and removes it from the tenantknock.objects.getChannelData: Use this to get the connected channels stored as channel data on the recipient objectknock.objects.setChannelData: Use this to set the connected channels for a recipient object or an access token for a tenant
API endpoints
#Lastly, you can interact directly with the API endpoints for all of the above functionality. Here are the endpoints used in SlackKit that you would need to support an implementation of the managed UI:
- Slack auth check: status of Slack authorization
- Slack channels: list of Slack channels for the given workspace
- Slack revoke token: revoke Slack app token access and remove from tenant
- Get channel data: get channel data for your recipient object, which gives you access to the connected slack channels
- Set channel data: set channel data for your recipient object, which allows you to set connected slack channels
Resources access grants
#The only access you'll need to manage when using SlackKit are grants for your users to interact with their Tenants and Objects in Knock. This is necessary because the user in this context is an end user in your application who does not have access to Knock as a member of the account. Therefore, these grants provide them elevated privileges to operate on specific resources using the API.
We've made it easy for you to tell Knock which resources your users should have access to by making it a part of their user token. In this section you'll learn how to generate these grants using the Node SDK and, if you're not using the SDK, how to structure them for other languages.
With the Node SDK
#You'll need to generate a token for your user that includes access to the tenant storing the Slack access token as well as any recipient objects storing Slack channel data described in SlackKit . If you need to enable access to multiple recipient objects, you can include multiple grants in the user token.
Example:
- Tenant ID:
jurassic-park - Recipient object collection:
videos - Recipient object ID:
dinosaurs-loose
Using the above example, you can quickly generate a token with the Node SDK.
You'll need to pass this token along with the public API key to the KnockProvider that wraps KnockSlackProvider and the rest of your components. We recommend storing the generated user token in local storage so that your client application has easy access to it.
Other languages
#If you're not using the Node SDK, you can still generate a user token using a JWT signing library in your preferred language. Here's an example of using Joken for the Elixir library. You'll include the grants key in the root of the payload and put your resource grants in there. We'll go into detail about how they work below, but if you want to skip that and just get started, here's what that will look like in a given JWT payload for the example above:
Continue reading for a deeper dive on access and how these grants are structured.
Grants in the user token
#You may already be familiar with generating a user token to be used with your public API key when making client side calls if you've used authentication with enhanced security. You'll use the same process to generate the user token as described here, including signing it with an RS256 algorithm using your private signing key, but you'll also be sending a list of grants that the user needs to work with SlackKit.
The two resources you'll be granting access to are:
- The tenant: the user needs access to this because this is where Knock stores the access token to Slack that will be used when communicating with the Slack API
- The recipient object: the user needs access to this because this is where Knock is storing the connected Slack channels as channel data on the object
These resources need different permissions. Here are the permissions needed for each:
- Tenant: reading slack channels
- Recipient Object: reading channel data; writing channel data
How the grants are structured
#Resource access grants in Knock are structured according to the UCAN spec. They consist of an array of maps, with each map representing a resource.
How to read a resource grant:
So to grant access for a user to read the channel data of object dinosaurs-loose in the videos collection, your grant would look like this:
Availability of resource access grants
#Currently these grants are only implemented for use by SlackKit as described in this doc, and since exceptions are not used for these they will not be respected.