Email layouts
Learn more about how to use layouts with your email templates in Knock.
Knock emails are built from two pieces: layouts and templates.
The layout is the shared "frame" of your email. The header, footer, and any HTML or CSS you want applied across templates. You define it once so every email renders consistently.
The template is the body of a specific email, authored in an email workflow step. At send time, Knock injects the template into the {{content}} variable of its layout to produce the final email.
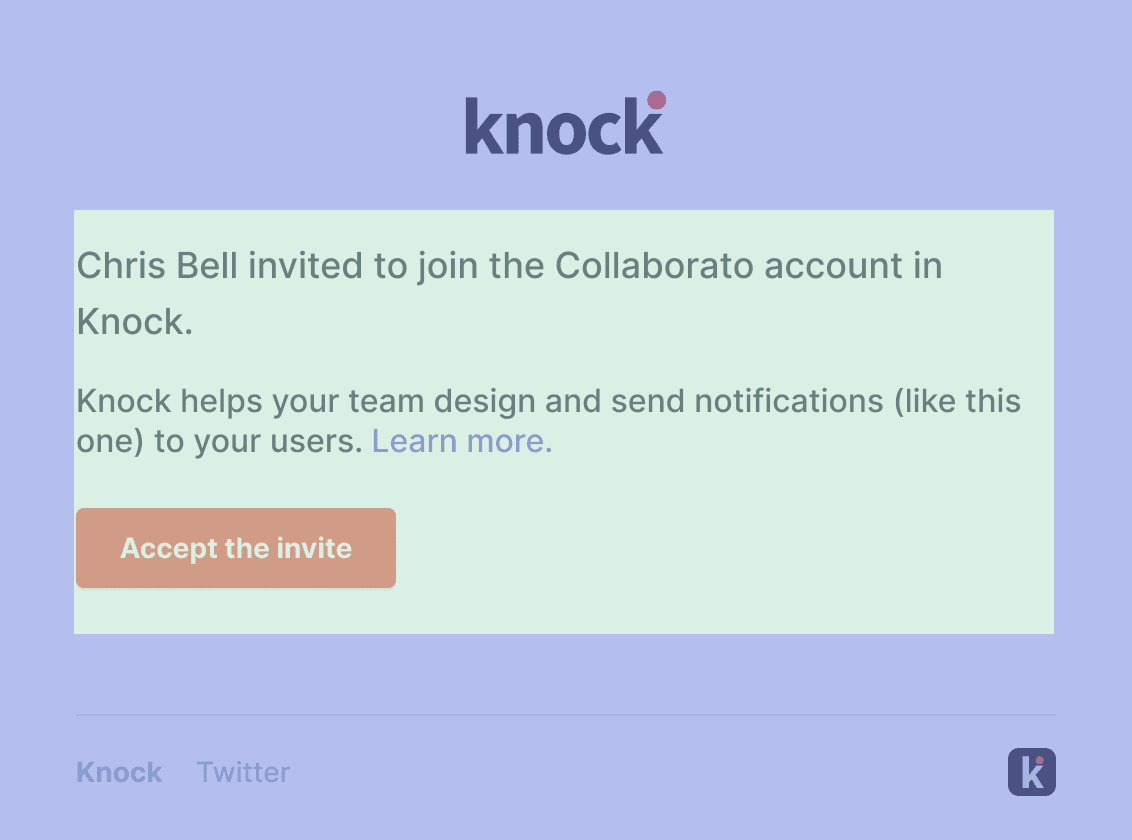
Here's an example of a transactional email we send at Knock, with the template content merged into the layout. Green is the template, blue is the layout.
Knock provides two system-level variables for use in your layouts:
The Knock default layout
#Every Knock account starts with a default layout at Content > Email layouts. New email templates use this layout by default, so update it to change the shared look and feel of all your emails.
Click the "Default" layout to open the visual editor, where you can configure footer links for HTML emails. Logo, icon, and brand color come from the Branding page under your account settings. To edit the HTML and CSS directly, click "Edit in code editor" to open the custom layout editor.
Each layout also includes a plaintext version under the "Text" tab. It works the same way, the plaintext body of your template is injected into {{content}}.
Select a layout for your email template
#New email templates use your default layout. To use a different layout on a specific step, open the template editor and pick one from the "Email layout" dropdown.
Custom layouts and styling
#To create a custom layout, open the layout editor and click "Edit in code editor" to edit HTML and CSS directly. Your layout must include {{content}} somewhere inside its <body> as that's where Knock injects the template at send time.
Layouts can also use MJML. An MJML layout must have a root <mjml> tag instead of an HTML document, and any plain HTML inside must be wrapped in <mjml-raw> tags.
Creating new layouts
#To create a new layout, go to Developers > Layouts and click "Create layout." New layouts open in the visual editor by default; click "Edit in code editor" to switch to HTML and CSS.
Using custom fonts
#Reference custom web fonts inside your layout's <head> with a <link> tag. The @import rule is not supported:
Many email clients don't support web fonts, so pair any custom font with a web-safe fallback.
Using variables and brand attributes in a custom layout
#Inject account- and environment-level variables into your layout with the vars.* namespace. This is useful for global values that are the same across all emails, like a base URL for embedded links.
Branding properties set in account settings are available under vars.branding.*:
With per-tenant branding, Knock resolves these properties against the tenant_id on the workflow run, falling back to account-level branding if the tenant has none set.
Dark mode support
#The Knock default email layout supports dark mode out of the box via the prefers-color-scheme CSS media query.
To opt a custom layout in to dark mode, add color scheme meta tags, set color-scheme on :root, and override colors inside a @media (prefers-color-scheme: dark) block:
Swapping logos and icons in dark mode
#If your logo or icon doesn't render well on a dark background, upload dark-mode versions in account branding and expose them via vars.branding.dark_logo_url and vars.branding.dark_icon_url. Render both images in your layout and toggle them with CSS:
Hide the dark image by default and swap them inside your dark mode media query:
The <!--[if !mso]> conditional prevents Outlook, which doesn't support prefers-color-scheme, from rendering both images.
Styling buttons
#The Knock default email layout automatically styles buttons using your branding colors, with full support for dark mode.
Buttons inserted via the visual editor use the .block-button class with --solid and --outline variants. The default layout styles these using your branding colors:
- Solid buttons (
.block-button--solid) useprimary_coloras the background andprimary_color_contrastas the text color. - Outline buttons (
.block-button--outline) use a transparent background withprimary_coloras the text and border color.
Each button's individual style attributes from the visual editor (font size, padding, border radius, etc.) are preserved.
Why dark mode uses !important overrides
#The visual editor renders button colors as static inline style attributes, which don't change between light and dark mode. The default layout uses !important in dark mode to override the inline styles injected by the visual editor. This means:
- Light mode. The button respects per-button colors set in the visual editor.
- Dark mode. The layout forces branding-aware colors to ensure readability.
If you need full control over button colors in dark mode, you can customize the dark mode styles in your layout or create a custom layout with your own button styling.
Injecting workflow run scope into a layout at runtime
#You can reference workflow-run-scoped variables in your layout with standard Liquid syntax, as long as they appear after {{content}} is first rendered. (For variables needed above {{content}}, see pre-content variables below.)
For example, if your template uses a Liquid capture tag to define formatted_price, you can drop {{formatted_price}} into your layout's footer to render it.
Defining pre-content variables
#At send time, Knock compiles your template into its layout's {{ content }} tag to produce the final email. If you need a template-level variable to be available above {{ content }} in your layout, use pre-content variables.
To set them, open the email template editor and click the gear icon (⚙️) at the top of the template editor to open the template settings modal. Add your variables to the pre-content field using Liquid syntax.
Pre-content variables are useful for:
- Customizing parts of your layout without having to create a separate layout.
- Declaring template-specific Liquid variables in one place for reuse throughout the template.
Including preview text
#Most email clients display custom preview text if your layout exposes a {{ preview_text }} slot before any other content. Once the slot is in place, you can set preview text per template in the template editor.
Example of a layout with a preview text slot:
Defining a blank email layout
#To send a template without any layout wrapper, select "No layout" in the "Email layout" dropdown in your email channel step's template settings.
Layouts and the visual template editor
#You can use the visual template editor to compose your template's content regardless of which layout the email step uses.
When you insert components like buttons and dividers from the visual editor, Knock auto-generates CSS from a set of base component styles (see below), which you can override to match your design system.
Updating base component styles
#Visual editor components use the base styles below, which Knock auto-injects into the top of your layout's <head> at runtime. To match your design system, override them in your layout's <head>.
Because these styles are injected at runtime, overrides must use !important to win — for example, font-size: 20px !important; to change the block-button-sm font size.
Automate layout management with the Knock CLI
#You can manage layouts programmatically with the Knock CLI or Management API, keeping Knock layouts in sync with files in your application code, and committing and promoting changes as part of your CI/CD workflow.
See Layout file structure for how layout files are organized and the Knock CLI reference for the full command set. Contact us if you have questions.