Slack notifications with Knock
Learn how to use Knock to send Slack notifications to your users.
This page covers how to use Knock to send notifications to Slack. Depending on your use case, there are a few different ways to approach this integration. This documentation serves as a starting point and will cover the basics of setting up a Slack integration with Knock regardless of your use case.
What can I do with Knock's Slack integration?
#Knock's Slack integration enables you to send notifications to Slack channels and direct messages to users via an authenticated Slack app, or via webhooks for internal workspaces. You can create rich message templates using markdown or Slack's block kit framework, and build integrations where customers connect your Slack app to their Slack workspaces.
This integration does not support Slack modals, slash commands, shortcuts, or interactive dialogs.
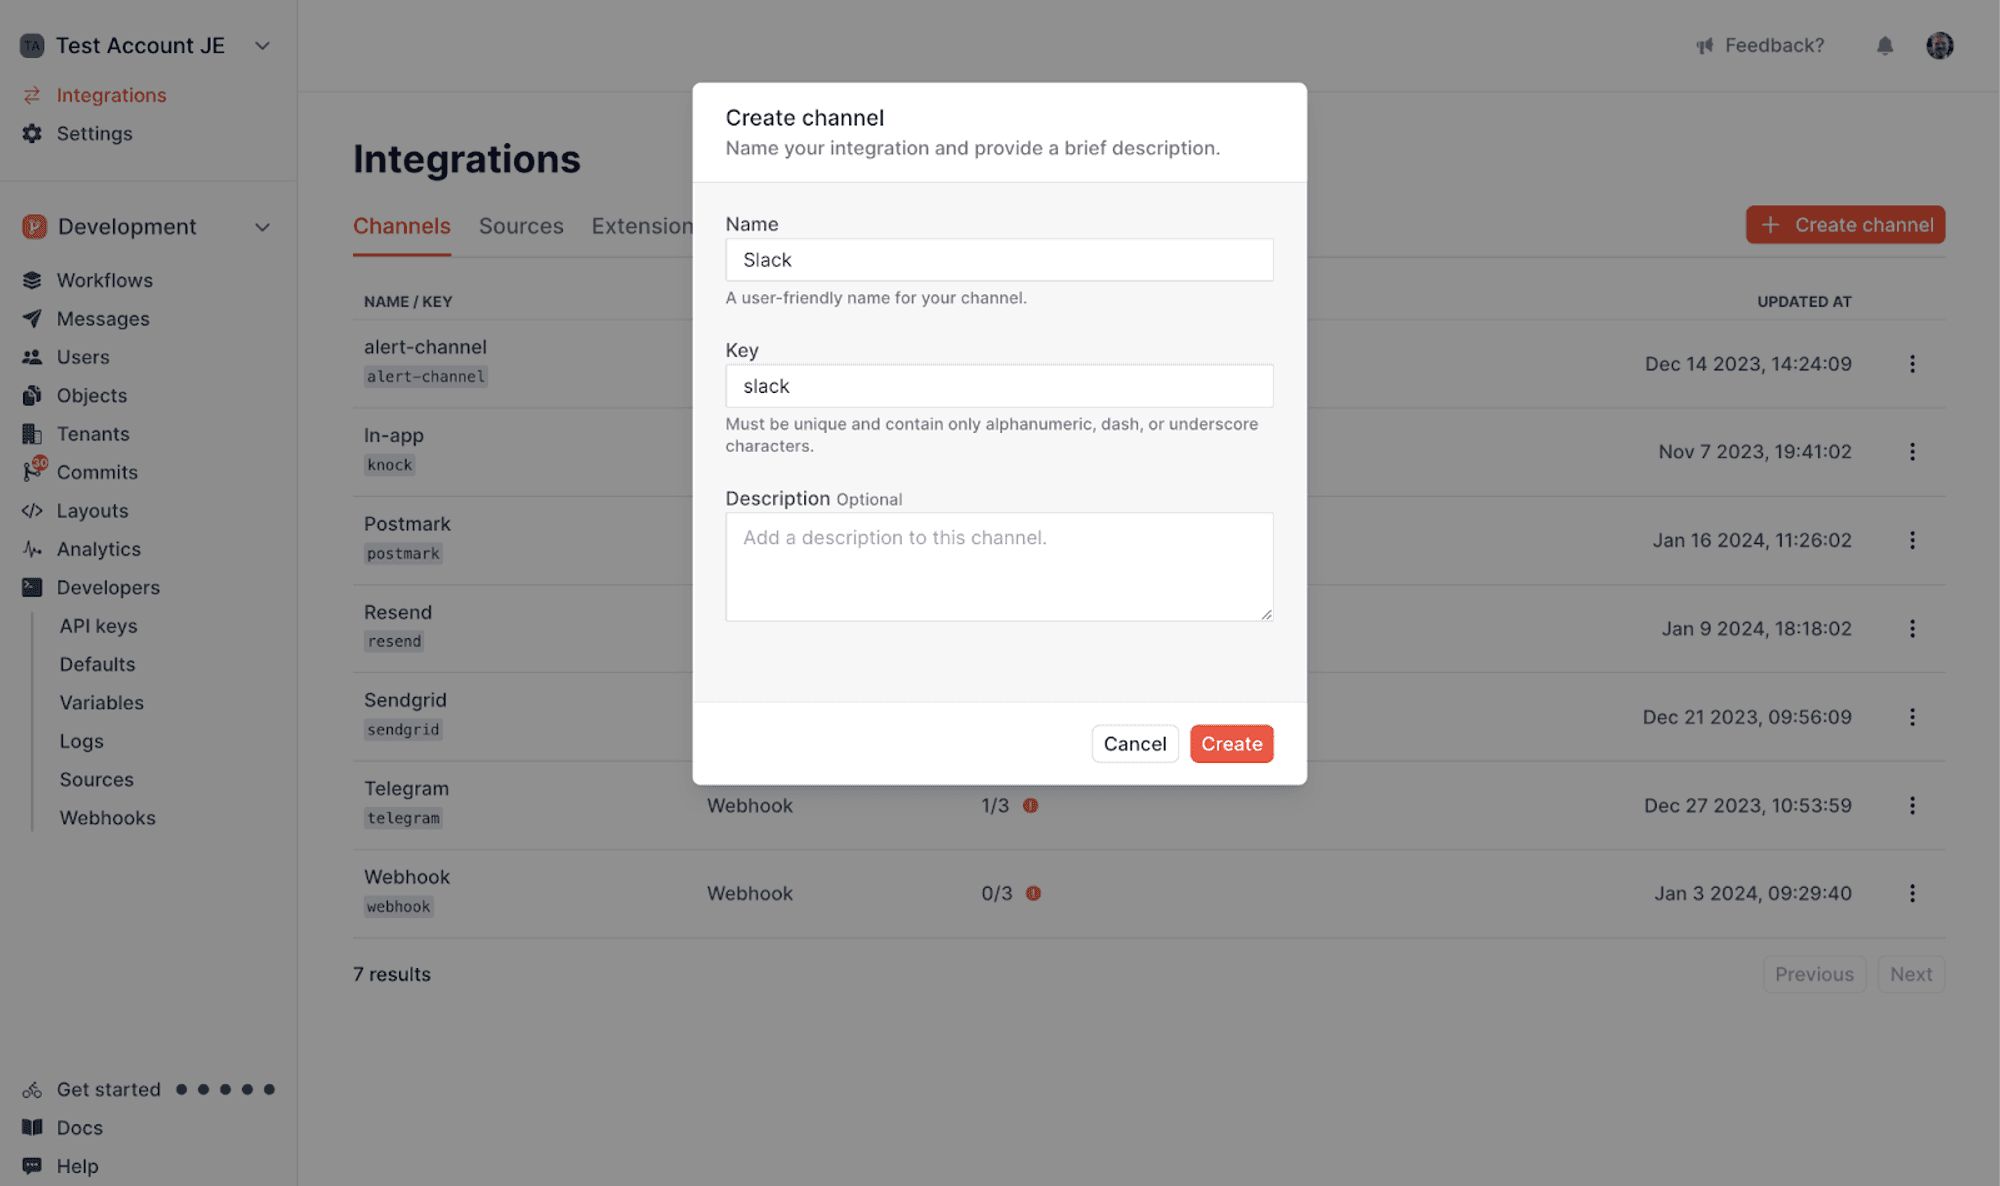
How to connect Slack to Knock
#Knock supports multiples ways to create a Slack integration depending on your technical requirements:
- Using Knock's managed approach with our SlackKit components
- Using Knock's Slack-related React hooks with your own components
- Building the UI and OAuth flow entirely yourself
Regardless of your approach, you'll need a Slack app to send notifications from Knock to a Slack workspace. If you haven’t built a Slack app yet, you can get started in Slack’s app documentation.
Once you create your Slack app, you’ll be routed to its app management page within the Slack dashboard. It looks like this.
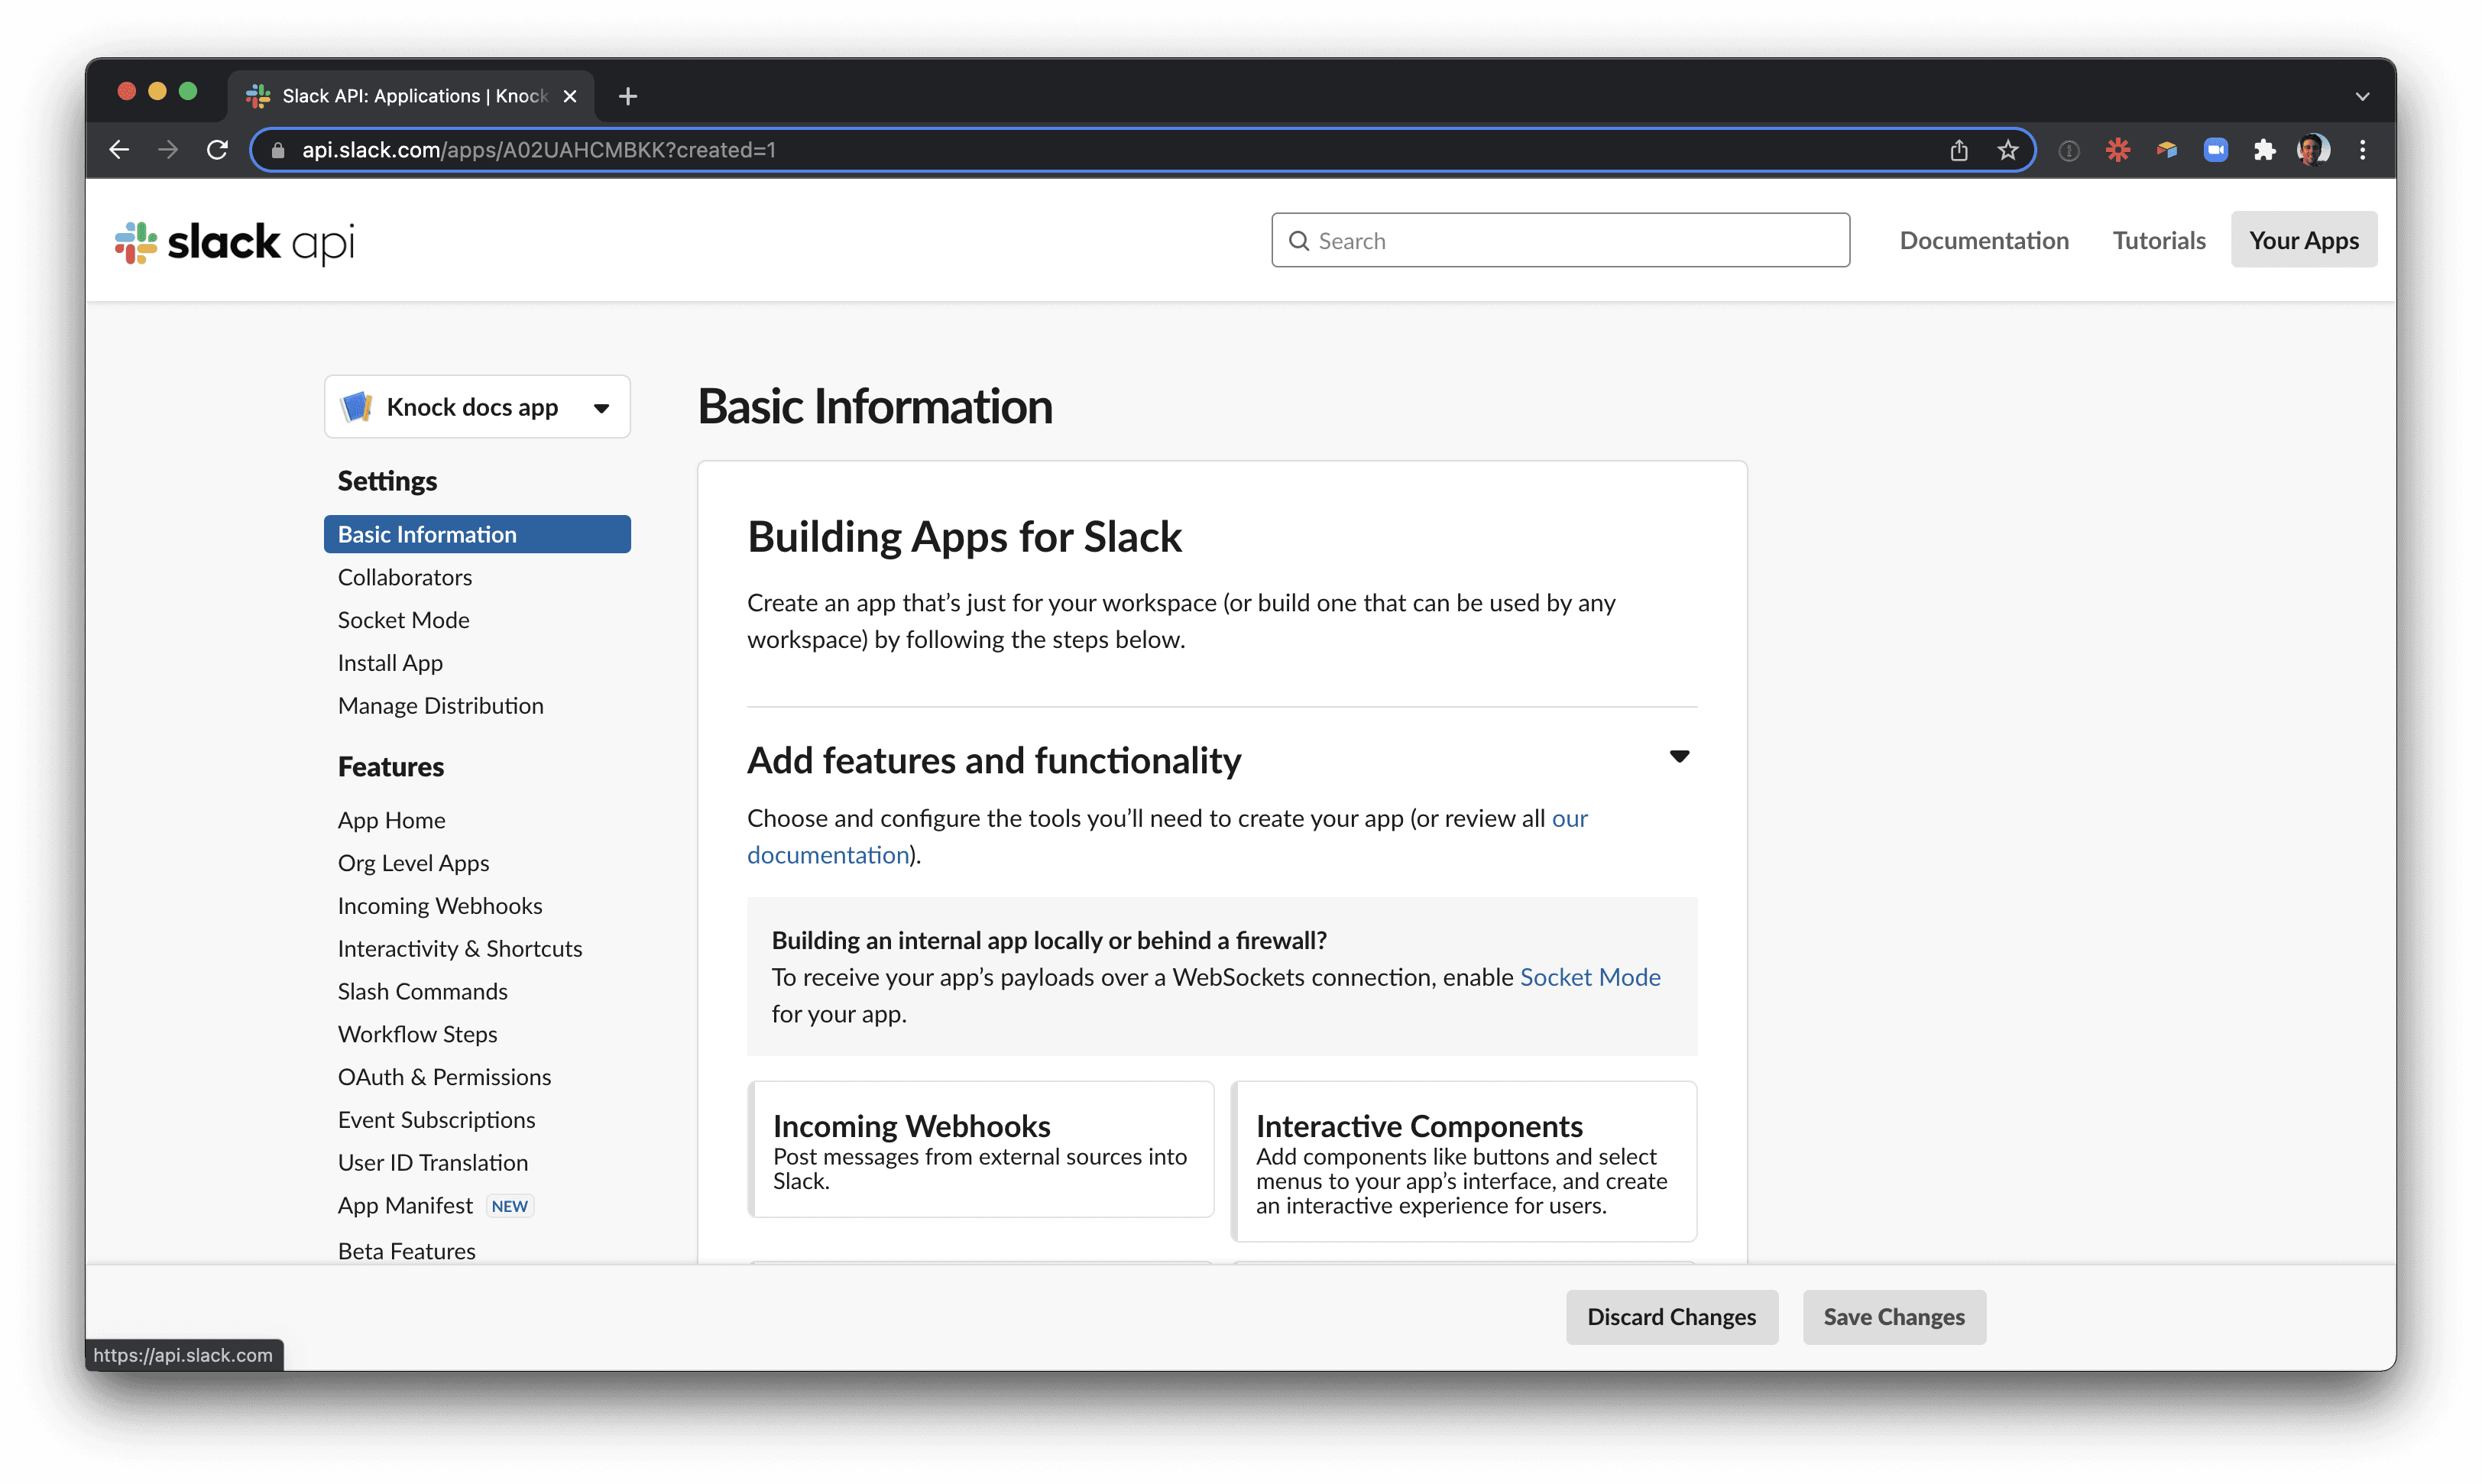
If you are new to Slack apps, there are a few key concepts to understand:
- A scope is a permission granted to your Slack app when it joins a Slack workspace. You configure which scopes your app asks for in the OAuth & Permissions sidebar of your app management page.
- Your Slack app is installed to a customer's workspace through the Slack OAuth flow. In this flow, your app requests scopes and the user installing the app confirms which scopes to grant. You’ll need to surface this OAuth flow to your users wherever you want them to install your Slack app. Knock's
SlackAuthButtoncomponent can help you with this. - A Slack app can have bot token scopes and user token scopes. For almost all use cases, you’ll be using bot token scopes (this Slack doc explains why). When you add bot token scopes to an app, you will also need to make sure your app has its display information configured. You can do this under the App Home sidebar on the app management page.
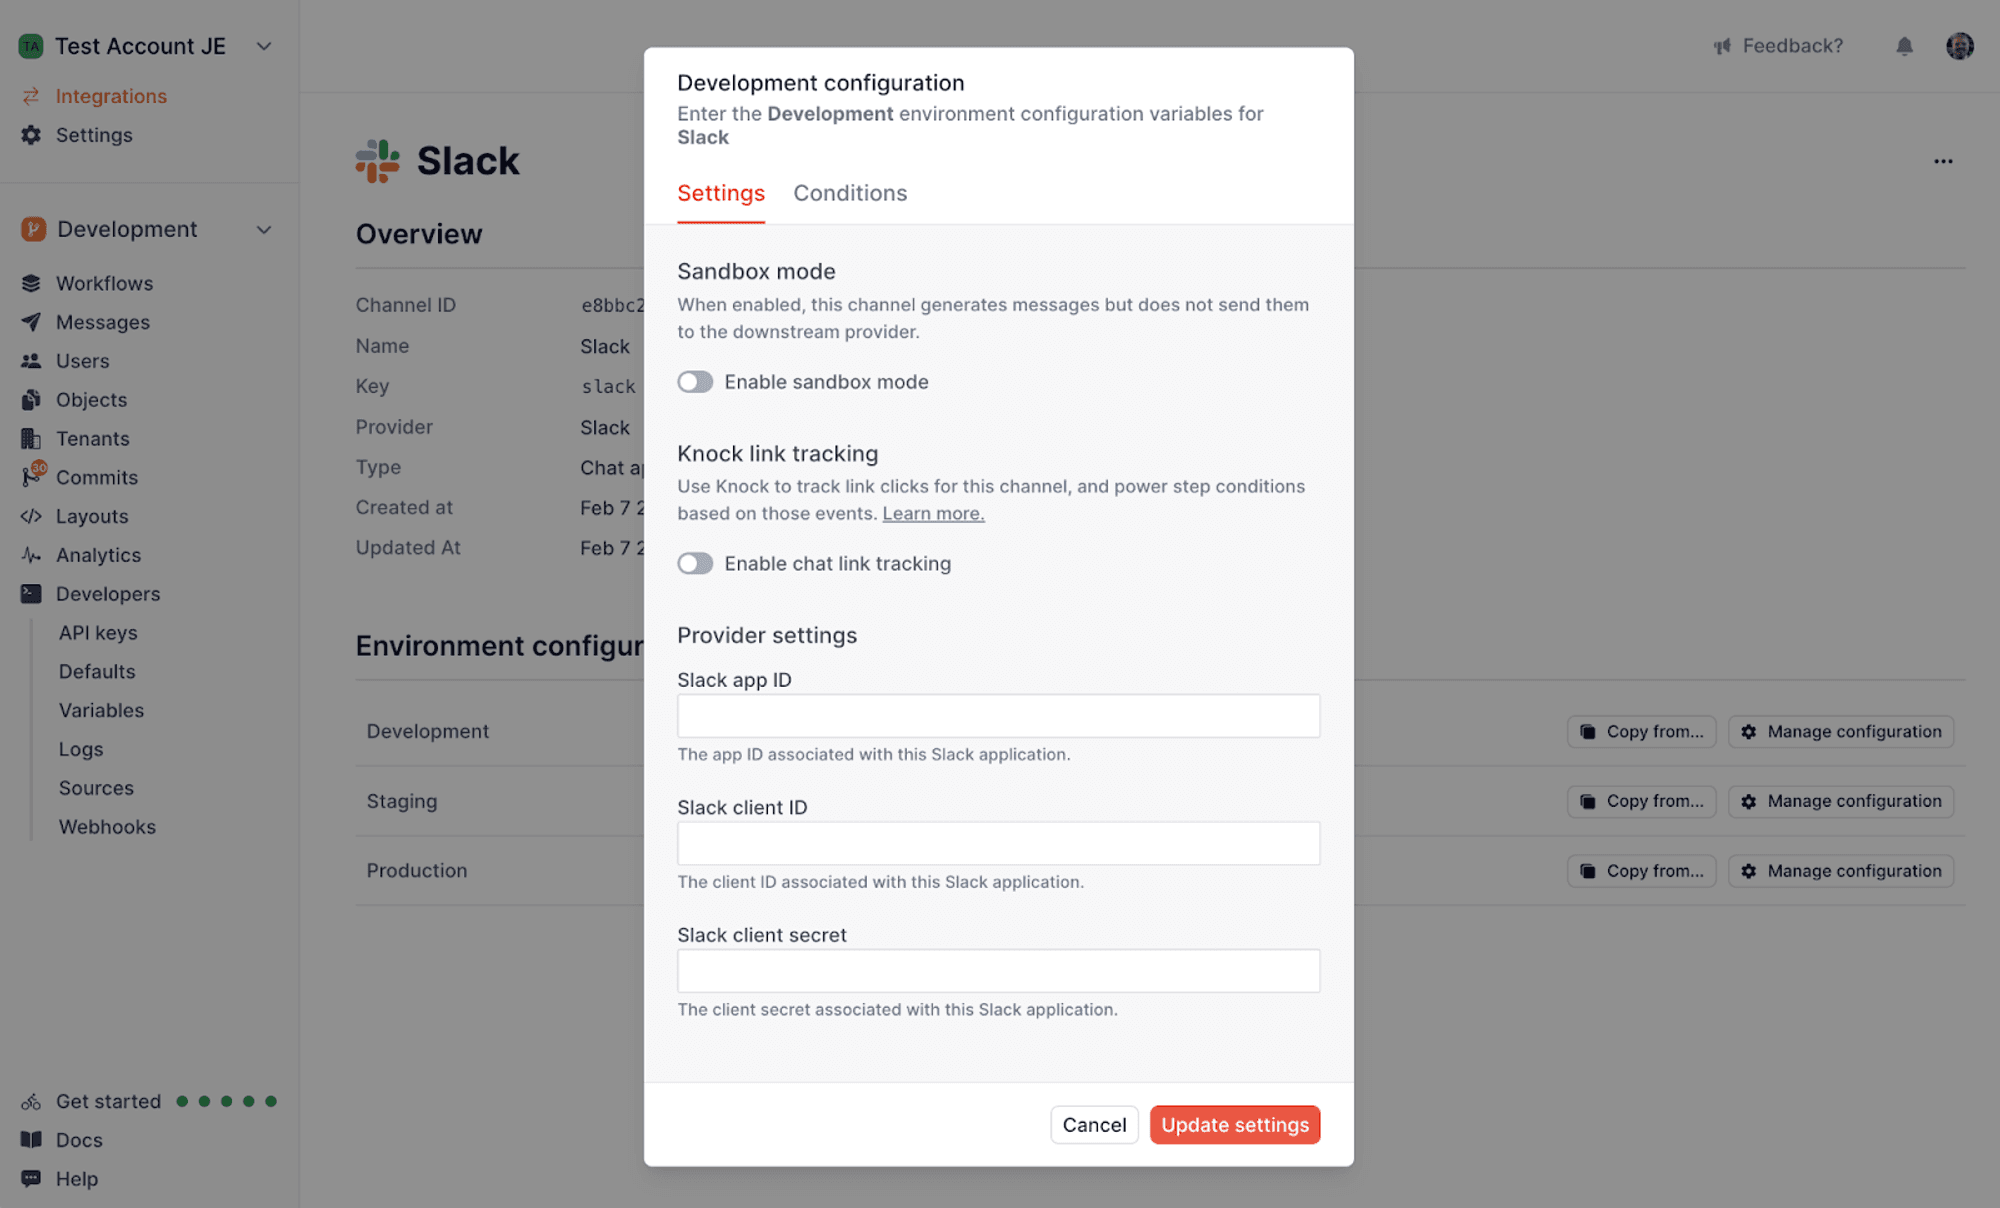
In this section we'll complete the steps for setting up your Knock account and Slack app.
How to set channel data for a Slack integration in Knock
#In Knock, the ChannelData concept provides you a way of storing recipient-specific connection data for a given integration. If you reference the channel data requirements for Slack, you'll see that there are two different schemas for a SlackConnection stored on a User or an Object in Knock.
Here's an example of setting channel data on an Object in Knock.
How Slack delivery works
#Every Slack notification needs two things, and Knock lets them live in different places:
- Auth — permission to post: either a bot access token (
xoxb-…) from Slack's OAuth flow, or a self-contained incoming webhook URL. A bot token authorizes exactly one Slack workspace. - Destination — where the message goes: a
channel_id(a channel) or auser_id(a direct message).
The destination is stored on the recipient (a User or Object). The auth can be stored on the recipient too — or, in a multi-workspace product, once on the tenant, so every recipient in that tenant shares a single connection. The two sections below cover each location.
Recipient channel data requirements
#Here's an overview of the data requirements for setting recipient channel data for either an incoming webhook or an access token Slack connection. Both will need to live under the connections key.
A SlackConnection can have one of two schemas, depending on whether you're using standard Slack OAuth scopes or an incoming webhook.
We cover Slack app scopes in detail in our Slack scopes documentation.
Tenant channel data requirements
#When you map a Slack workspace to a tenant in Knock (as our SlackKit components do), you store that workspace's access token as channel_data on the tenant. At send time, when you trigger a workflow with that tenant, Knock takes the destination from the recipient's channel_data (the channel_id or user_id) and uses the tenant's access token for auth: the tenant provides the auth, the recipient provides the destination. If the recipient also carries an access_token, the tenant's takes precedence — so the access_token on the recipient's SlackConnection[] above is not required when a tenant holds one.
Do you need a tenant? Store the token on a tenant when one Slack workspace connection should serve every recipient or object in that tenant. This keeps the workspace access token in one place while each recipient or object stores only its Slack destination (channel_id or user_id), which is useful as you add more destinations in the same workspace later. You don't need a tenant if you post to a single internal workspace (use an incoming webhook — there's no token to share) or only ever use one workspace's token and prefer to store it directly on each recipient or object. Knock never auto-creates a tenant for you (though SlackKit can, on the fly), so use one when shared workspace auth should live at the tenant level.
Here's an overview of the data requirements for setting channel data when storing an access token on a tenant.
Choosing where to store channel data: users vs. objects
#Depending on the Slack integration you build into your product, you’ll store the connection data you receive from Slack as channel_data on either a User or an Object in Knock.
Designing notification templates for Slack
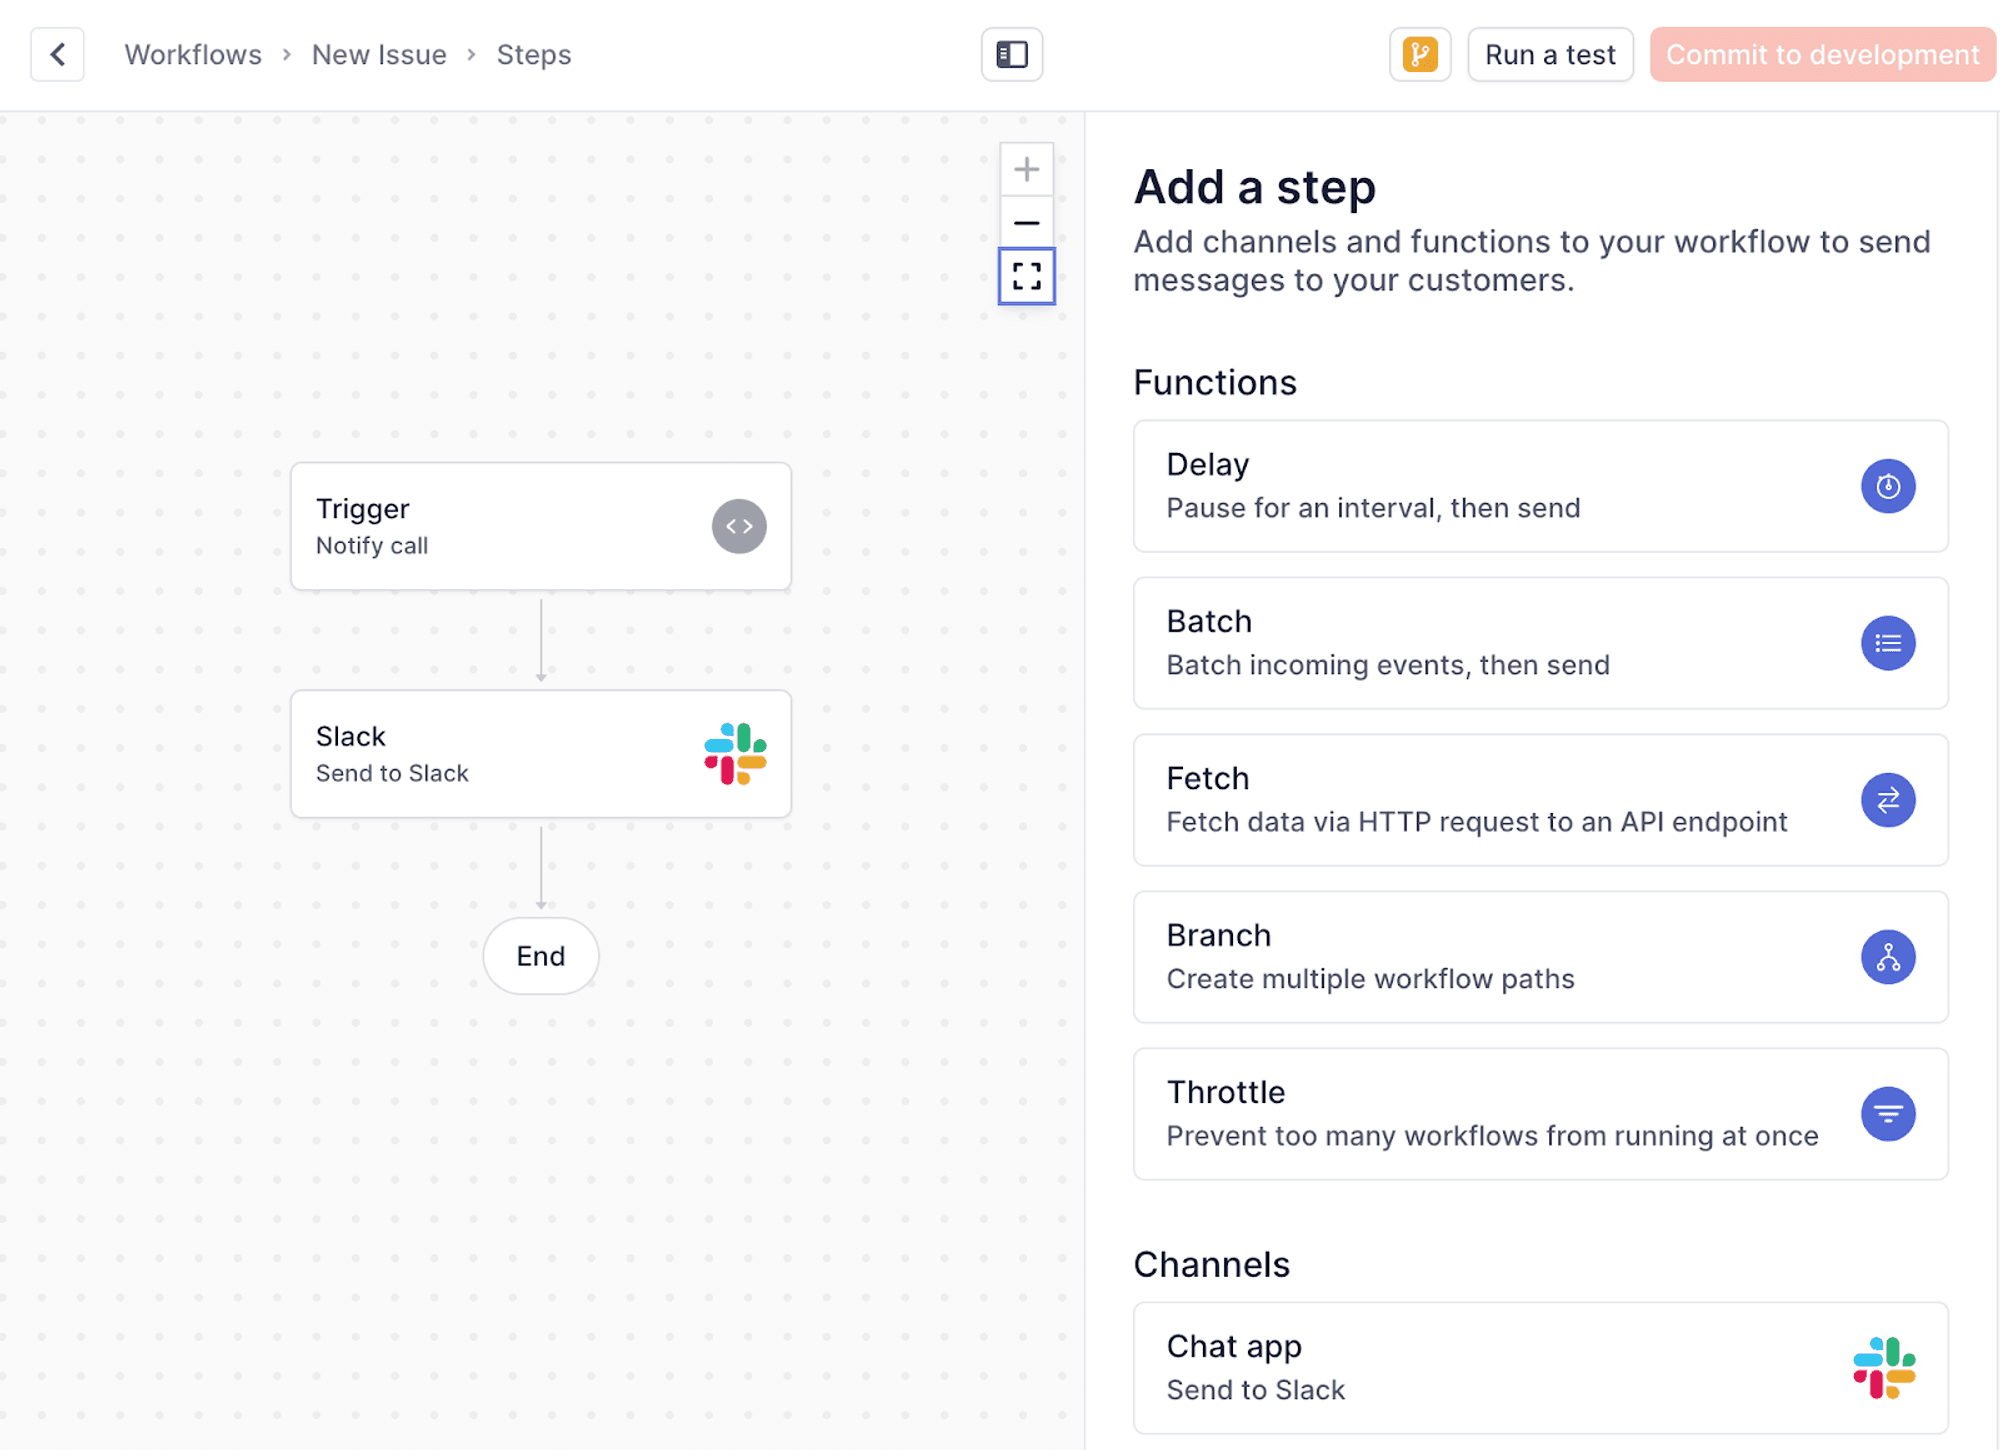
#When you add a new Slack channel step to a workflow in Knock, you'll need to configure a template for that step so Knock knows how to format the message to Slack.
Markdown templates
#Editing a markdown template for Slack is just like editing any other markdown-based template in Knock. You can use Liquid to inject variables and add control tags (e.g. if-then, for-loop) into your template.
Here's an example Slack template written in Knock using markdown.
In the example above we're using Liquid's for-loop tag to iterate over the activities array produced by a Knock batch function. You can learn more about Knock batch functions and the state they produce in our batch function documentation.
Block-based templates
#For more advanced layouts in your Slack messages, including images and buttons, you'll need to use Slack's block kit UI framework to build your notification templates. The block kit framework is a set of different JSON objects you can use together and arrange to create Slack app and notification layouts.
Designing block kit templates
#To start you'll want to design your block-based Slack message template. The best way to do this today is to use Slack's block kit builder. It gives you a drag-and-drop interface for building out your Slack templates, and outputs the JSON you'll need to bring into your Knock template.
Once you've designed your Slack template, copy the JSON from the block kit builder and bring it into your Knock notification template. You'll use the "Switch to JSON editor" button at the bottom right of the Knock template editor page to switch to our JSON editor, and then paste in the JSON you copied from the block kit builder.
Knock's JSON template editor
#You can use liquid in the Knock JSON template editor just as you would in the markdown editor. This is helpful for both injecting variables into the text of your Slack UI blocks, as well as for using liquid control tags to control when certain blocks should be displayed and for iterating through an array and mapping its items into a list of Slack blocks.
Here's an example of a block kit UI template with liquid syntax added to iterate through a list of items.
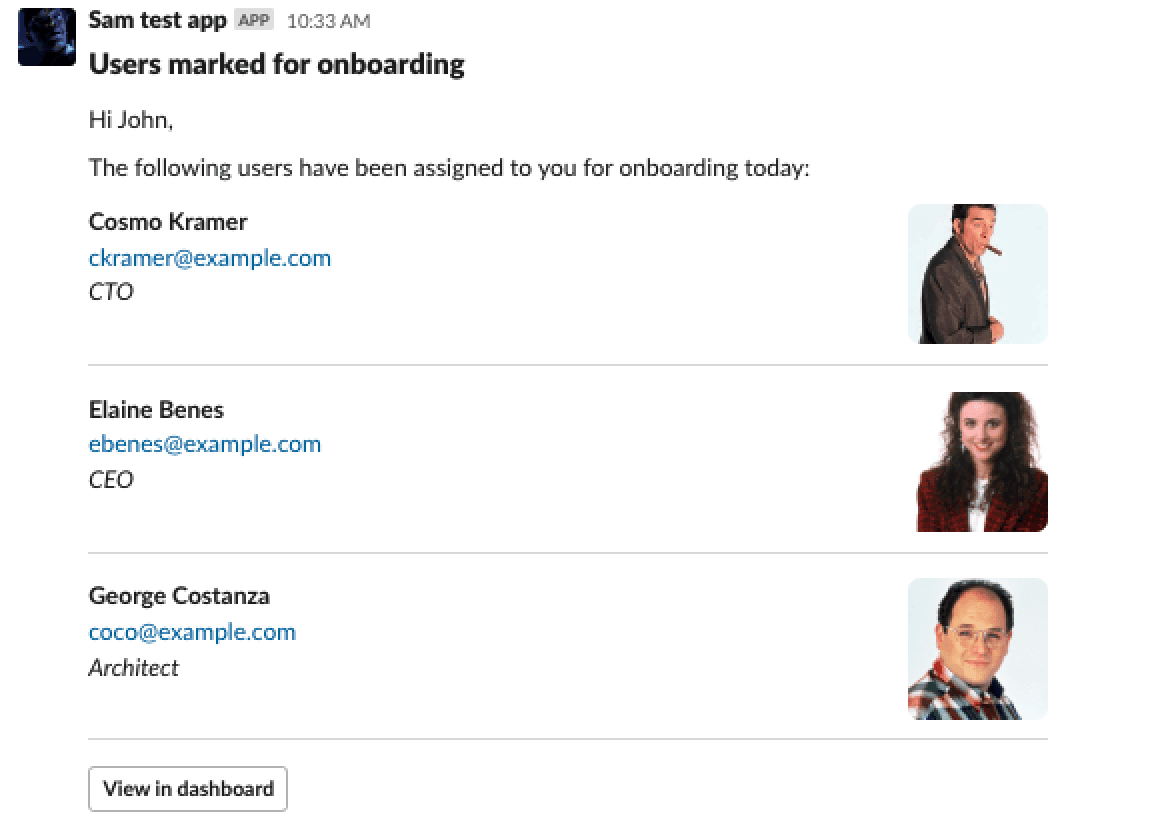
In the template above, we're using the activities array produced by a batch function to iterate over a number of items that we want to display in our Slack message. For each one of those items, we're producing a section that includes both text and image blocks which reference variables from the activity from our activities array.
Here's an example of a Slack message produced with this template. Note: this template was produced by three separate workflow trigger calls to the Knock API, all of which were batched into a single message automatically using our batch function.