Learn how to build and embed a custom notification preference center in your application using Knock's preferences API.
Build a custom preference center when you need to embed notification settings directly in your product, control the layout and UX, or support per-tenant preferences or object preferences.
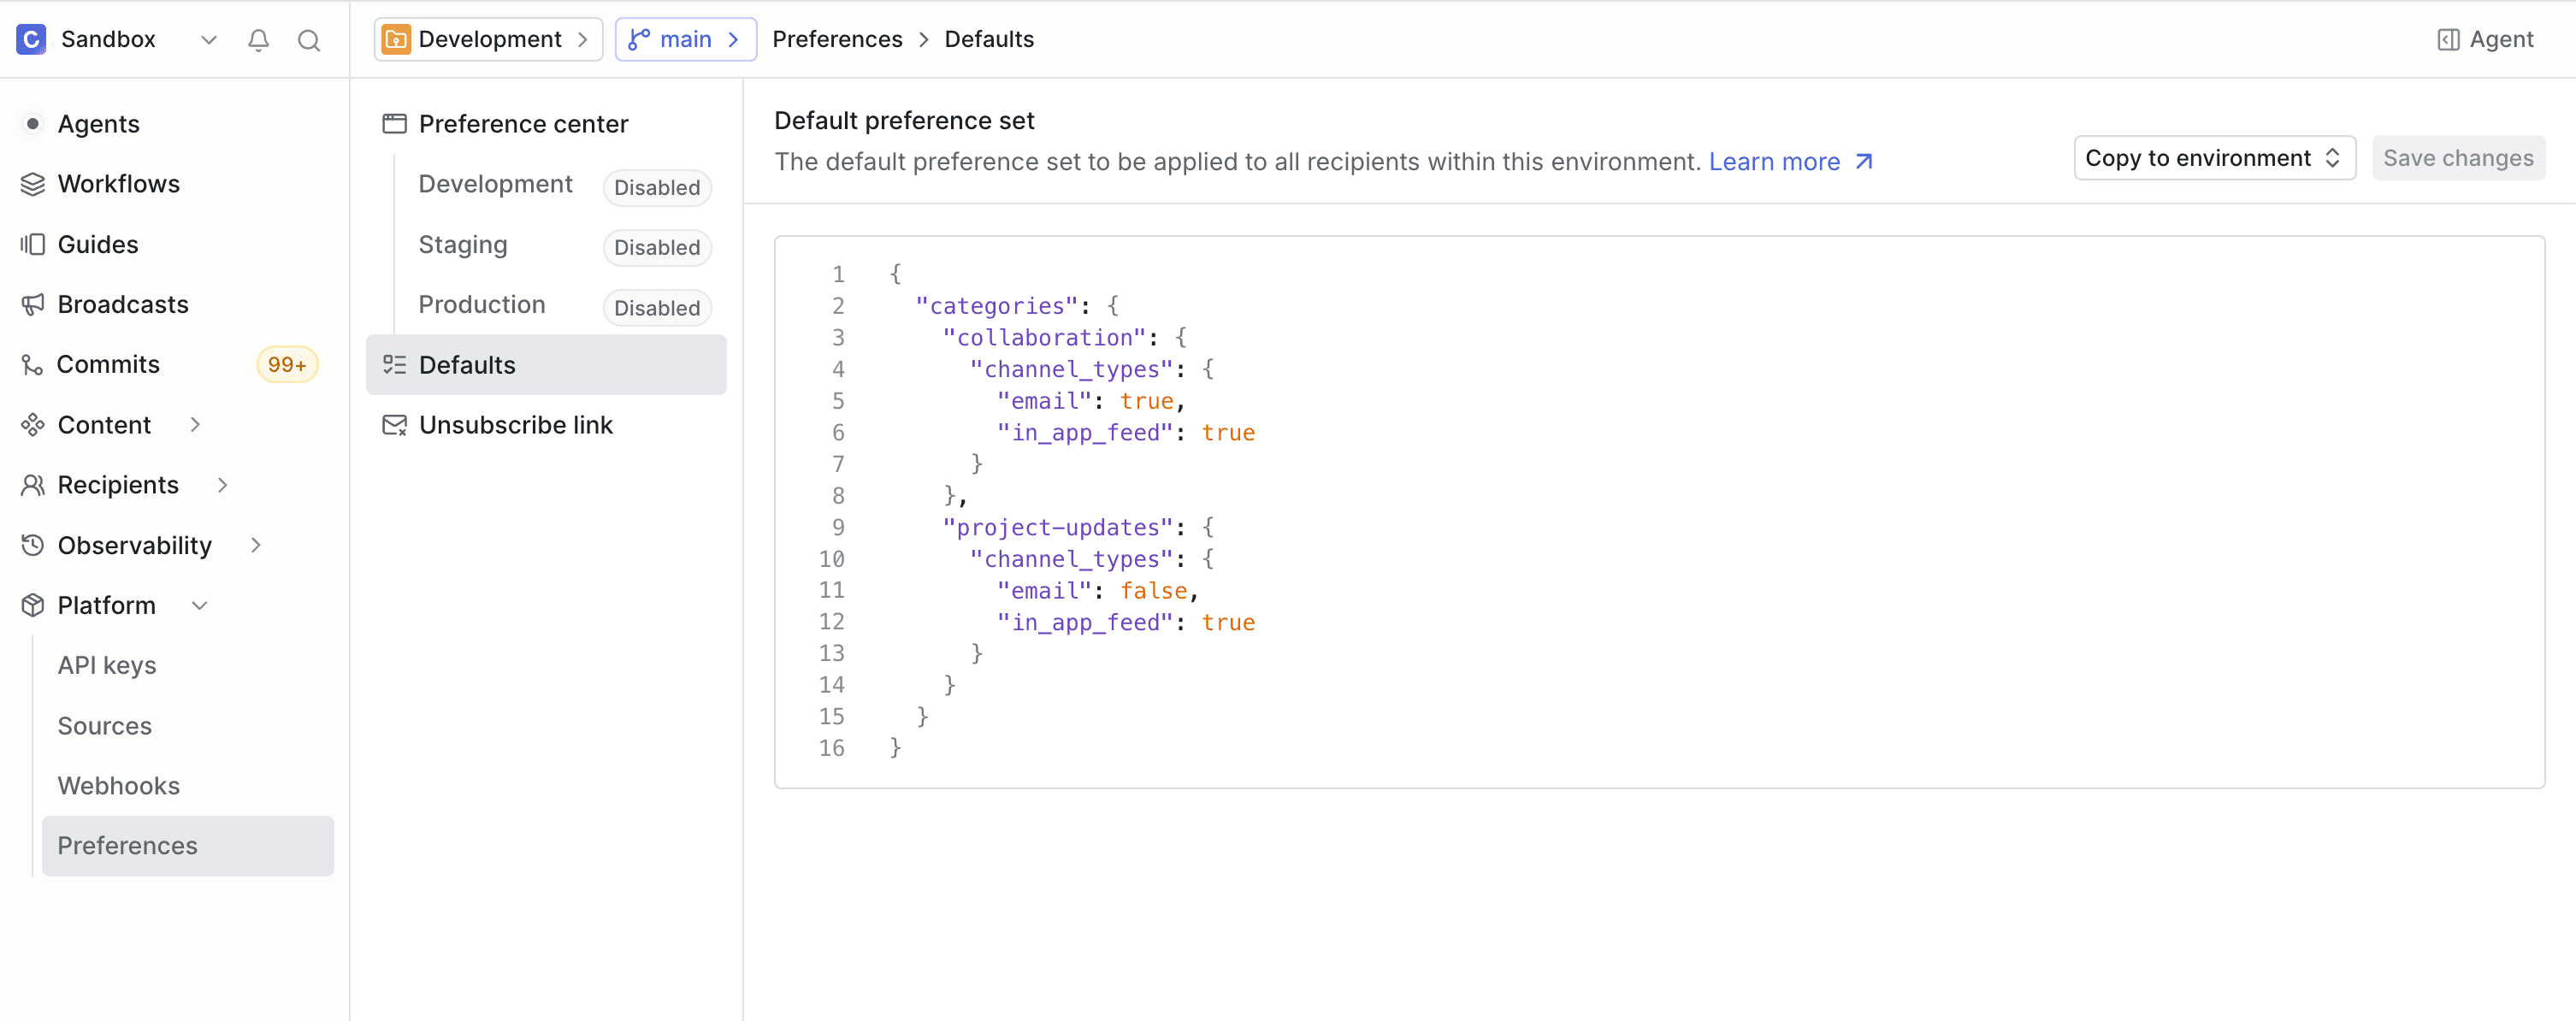
An environment-level default preference set is the PreferenceSet users fall back to when they first sign up for your product. Any user who doesn't have a preference set of their own will use these environment defaults. You can create your environment default preferences in the Knock dashboard under Platform > Preferences.
Each environment has its own default preferences. You can copy the default preference set from one environment to another to keep your environments in sync.
2
Get user preferences
Once you have your environment-level default preferences created, use the Knock client to retrieve the authenticated user's own PreferenceSet. If the user hasn't set any preferences of their own, getPreferences() returns the environment default set you created in the step above (merged with any tenant default), so you always have values to render.
For per-tenant preferences, pass the tenant id as the preferenceSet parameter on knockClient.user.getPreferences(). See Per-tenant preferences for details.
3
Render your preference center
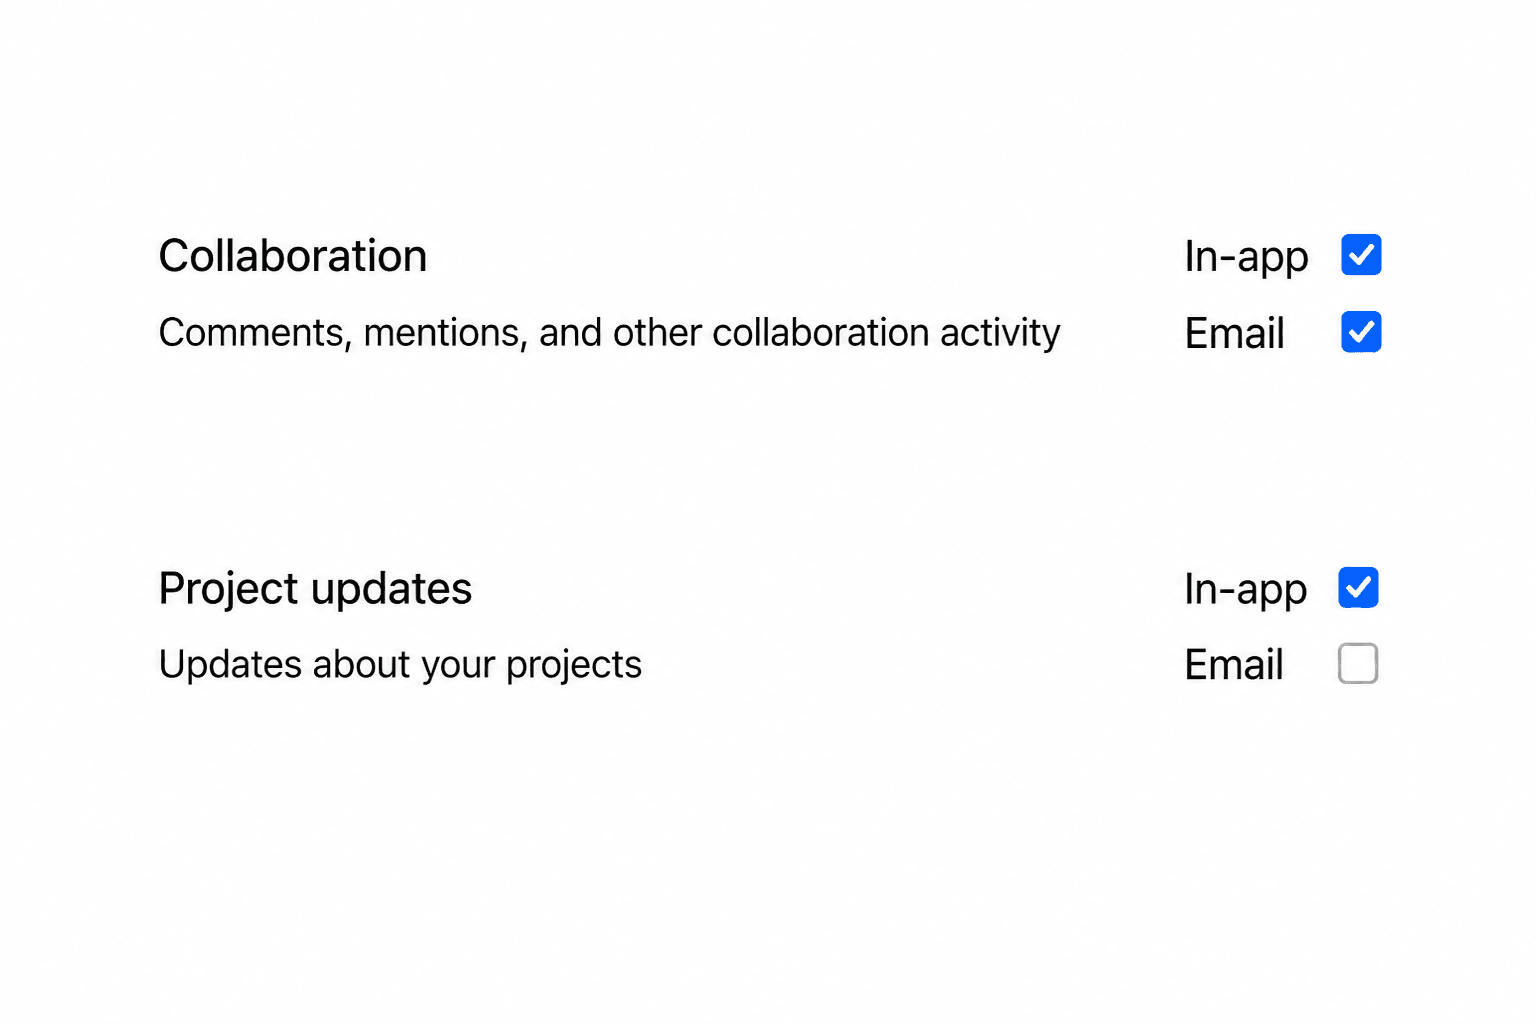
Once you have loaded a user's preferences, you'll need to render an interface in your application so they can update their notification preferences. Typically you encapsulate all of the getting and setting of preferences in a single component.
There are two options for driving the rows in your UI:
Define labels and rows in application code. Map preference keys to labels, descriptions, and channel type toggles directly in your component. See Implementation examples below for in-depth React walkthroughs.
Fetch dashboard-managed configuration from Knock. Pull the row definitions you configured in the dashboard so non-engineers can manage the layout. See Enable dashboard-managed configuration below.
4
Set user preferences
When a user makes changes to their preferences in your application, you will use the setPreferences method to save those changes back to Knock.
By default, setPreferences replaces any existing PreferenceSet, so include the complete set in your request. In this example, the user has opted out of collaboration emails:
To learn more about how to update just a single preference, see the frequently asked questions on the preferences overview.
Enable dashboard-managed configuration
#
Instead of hardcoding row labels and structure in your application, you can fetch your preference center configuration from Knock and use it to drive your UI. This allows your team to manage rows, labels, and branding from the dashboard without shipping a code change.